keeping mailbox bases secure in soggy clay soils
When we put up a new mailbox, we want it to stay put. That’s especially true if we live somewhere with wet, sticky clay soil. This kind of ground can make things tricky for anything stuck in it. We’re going to look at how to keep our mailbox posts steady, even when the ground gets soft. Good mailbox post stabilization is key to avoiding a leaning or falling mailbox.
Key Takeaways
- Clay soil can shift and move a lot, especially when it’s wet, which can loosen a mailbox post.
- Using strong materials like gravel and concrete, or special anchoring systems, helps keep the post stable.
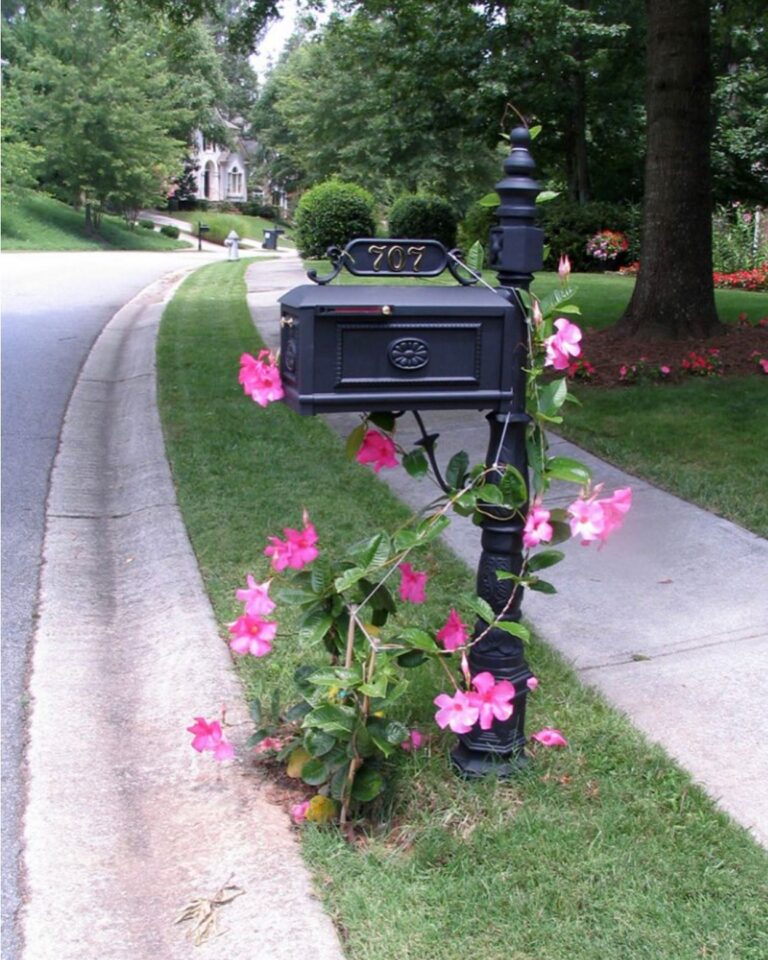
- Proper mailbox post stabilization means the post won’t lean or fall over, even in bad weather.
Addressing Clay Soil Challenges For Mailbox Post Stabilization
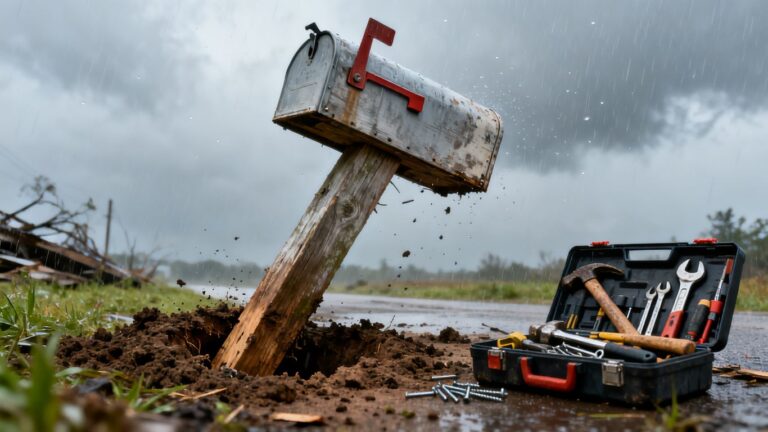
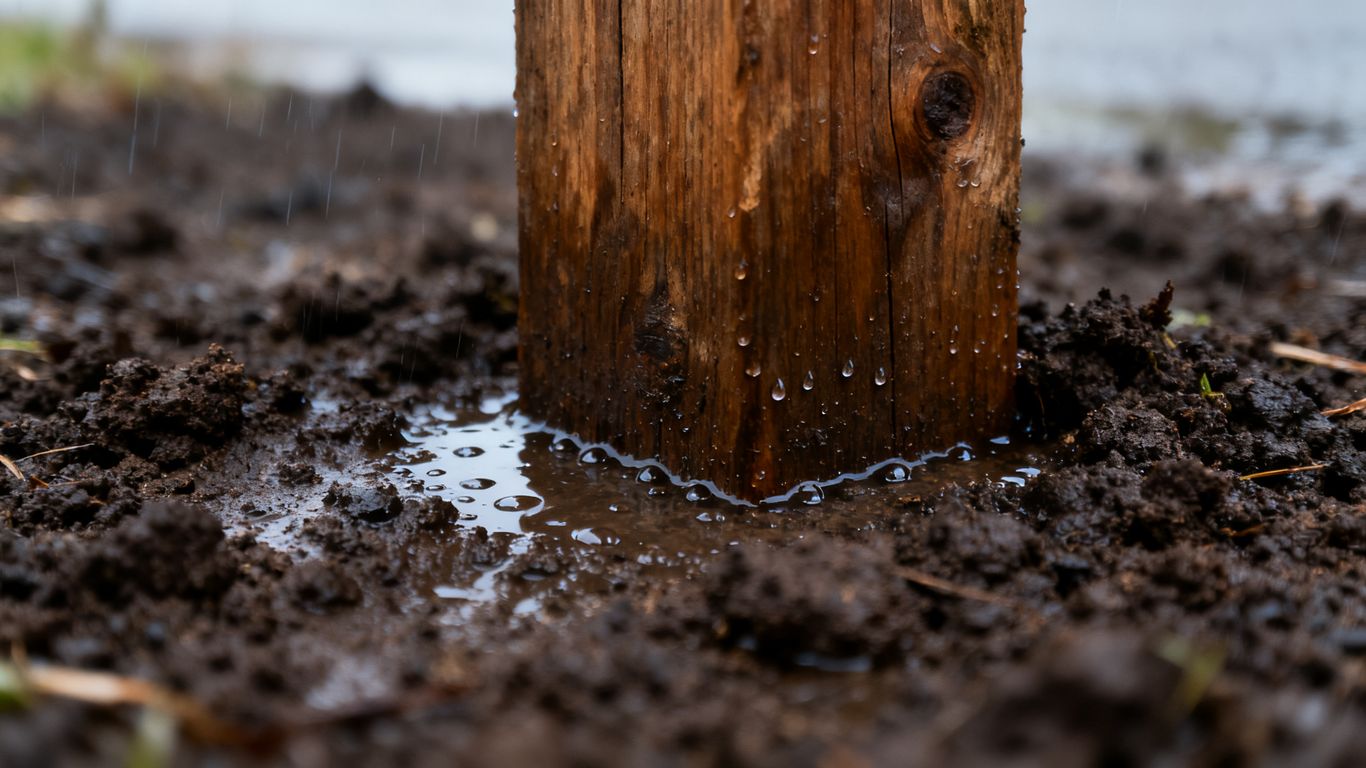
When we think about putting up a mailbox, we often don’t consider the ground it’s going into. But with clay soil, that’s a big mistake. Clay soil acts like a sponge; it soaks up water, swells, and then shrinks as it dries out. This constant shifting puts a lot of stress on anything buried in it, including our mailbox posts. Over time, this can lead to a wobbly post, or worse, a post that leans or even falls over. We need to think about how this soil behaves.
Understanding Clay Soil’s Impact on Mailbox Posts
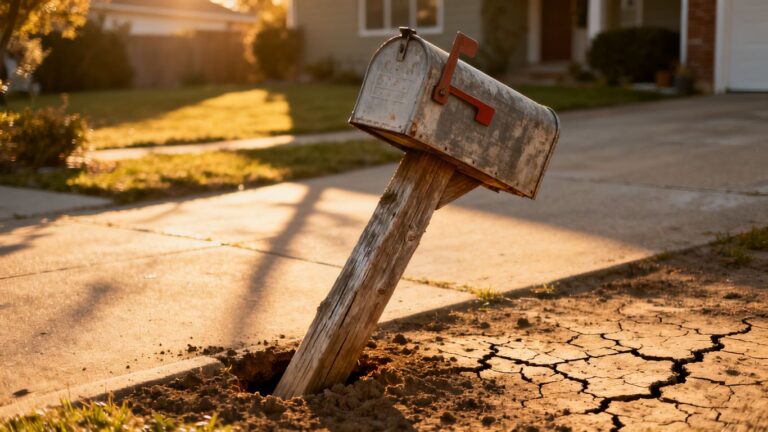
Clay soil is made up of very fine particles packed closely together. When rain comes, water gets trapped between these particles, causing the soil to expand. This expansion pushes outwards and upwards, which can really work against a mailbox post trying to stay put. Then, when the weather gets dry, the water evaporates, the soil shrinks, and it pulls away from the post. This cycle of swelling and shrinking is what we call expansion and contraction, and it’s the main enemy of a stable mailbox.
- Swelling: Wet clay pushes against the post, making it unstable.
- Shrinking: Dry clay pulls away, creating gaps and loosening the post’s grip.
- Freeze-Thaw Cycles: In colder climates, water freezing in the soil expands even more, adding extra force that can lift and damage the post.
We’ve seen posts that looked perfectly fine one season end up leaning significantly by the next, all because of this soil movement. It’s not about the post itself being weak, but about the ground it’s standing in.
Choosing the Right Materials for Durability
Because of how clay soil behaves, we need to be smart about the materials we use. It’s not just about picking a sturdy post; it’s about picking materials that can handle the soil’s mood swings.
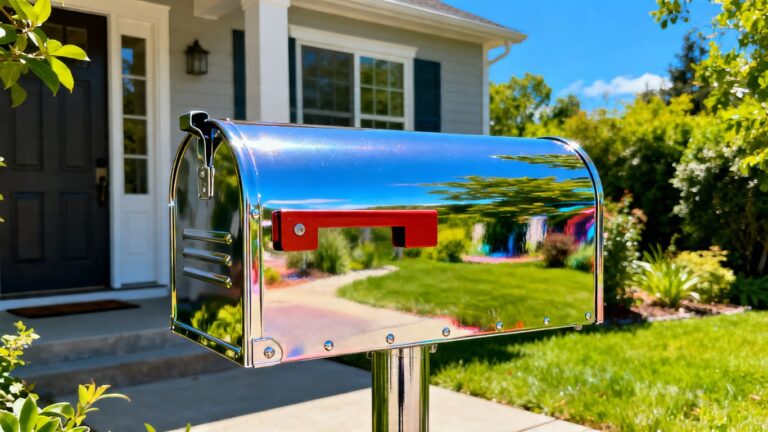
- Post Material: We generally recommend using treated lumber or metal posts. These hold up better against moisture and rot than untreated wood. Metal posts, like galvanized steel, are often a good bet for longevity.
- Fasteners: If you’re attaching anything to the post, use galvanized or stainless steel hardware. This prevents rust, which can weaken connections over time, especially in damp soil.
- Gravel/Aggregate: Having a good supply of gravel on hand is always a good idea. We’ll talk more about how to use it later, but it’s key for drainage.
The goal is to create a setup that allows for some movement without compromising the post’s upright position. We’re not trying to fight the soil, but work with it by providing better support and drainage around the base.
Implementing Robust Mailbox Post Stabilization Techniques

When we deal with soggy clay soils, just sticking a mailbox post in the ground often isn’t enough. That wet, heavy earth can push and pull at the post, especially when it freezes and thaws. We need to give it some serious backup. Let’s look at a couple of ways we can really shore things up.
Gravel and Concrete Methods for Enhanced Support
These are tried-and-true methods for a reason. They add weight and rigidity where the post needs it most, right at the base.
- Gravel Method: This involves digging a hole wider than the post and deeper than the frost line. We then place the post and fill the bottom of the hole with a few inches of gravel. This helps with drainage, which is key in clay. Then, we add more gravel, tamping it down firmly around the post as we go. This creates a solid, well-draining base.
- Concrete Method: For even more strength, concrete is the way to go. Dig the hole as before. Place the post, making sure it’s plumb. Mix concrete according to the bag’s instructions and pour it into the hole around the post. Smooth the top, sloping it away from the post so water runs off. This concrete collar acts like a solid anchor against the soil’s movement.
We often see people just pour concrete without thinking about drainage. That can actually trap water against the post, making things worse in the long run. A good gravel layer at the bottom before the concrete can really help.
Anchoring Systems for Long-Term Stability
Beyond just filling the hole, there are specific anchoring systems designed to give your mailbox post lasting stability, especially in challenging soil.
- Screw-in Anchors: These look a bit like giant corkscrews. You twist them into the ground next to the post, and then attach the post to the anchor with a bracket. They provide a strong pull-out resistance and are good for areas where digging a large hole might be difficult or undesirable.
- Pre-cast Concrete Anchors: These are heavy, pre-formed concrete blocks with a bracket or sleeve designed to hold the post. You simply set the anchor in the ground and attach the post. They offer a lot of weight and stability right from the start.
- Ground Sleeves: These are metal sleeves that are driven deep into the ground. The mailbox post then slides into the sleeve. The sleeve itself is designed to resist the soil’s pressure and movement, keeping the post upright.
When choosing an anchoring system, think about how much wind your mailbox might face and how wet the ground typically gets. A system that works well in sandy soil might not be enough for heavy, wet clay.
We’ve found that combining a good base method with a solid anchoring system gives us the best results. It’s about building layers of defense against the soil’s natural tendency to shift.
Wrapping Up: Keeping Your Mailbox Standing Tall
So, we’ve talked about how wet, heavy soil can really make a mailbox lean. It’s a common problem, especially after a lot of rain. We looked at a few ways to give that post a better grip, like using gravel or concrete, and making sure the hole is dug right in the first place. It might seem like a small thing, but a wobbly mailbox is a pain. Taking a little time to set it up properly now means we won’t have to worry about it leaning or falling over later. Give these ideas a try, and hopefully, your mailbox will stay put, no matter how soggy things get.
Frequently Asked Questions
Why does wet clay soil make our mailbox posts wobbly?
Clay soil is like a sponge when it gets wet. It swells up and can push against the mailbox post, making it loose. Then, when it dries out, it shrinks back, leaving the post even shakier. This constant shifting is tough on any post we put in the ground.
What’s the best way to keep our mailbox post from sinking or leaning in wet dirt?
We can help our mailbox posts stand tall by using a mix of gravel and concrete. First, we dig a wide hole and put some gravel at the bottom to help water drain away. Then, we set the post and fill the rest of the hole with concrete. This creates a solid base that won’t move much, even when the soil gets soggy.
Are there other strong methods to secure our mailbox posts for good?
Yes, we can also use special anchoring systems. These are like sturdy metal rods or sleeves that we drive deep into the ground around the post. They act like extra support, holding the post firmly in place and preventing it from leaning or tipping over, no matter how wet the ground gets.